Elegant Minimalistic Stationery Mockup P: A Practical Guide to Realistic Brand Presentation
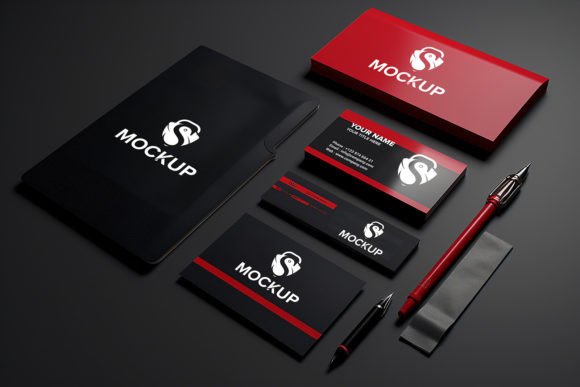
In the competitive world of graphic design and branding, first impressions are often digital before they are physical. Clients and customers need to visualize how a logo or business card will look in the real world before committing to a print run. This is where the Elegant Minimalistic Stationery Mockup P becomes an indispensable tool. It bridges the gap between flat digital files and tangible reality, offering a high-quality 3D realistic preview that enhances professional presentations. However, many designers, especially beginners, misuse these assets or overlook critical details that affect the final output. Understanding how to properly utilize this resource can save time, prevent costly printing errors, and elevate your portfolio.
Understanding the Value of Smart Object Integration
The core feature of the Elegant Minimalistic Stationery Mockup P is its reliance on smart object replacement. For those unfamiliar with this workflow, a common mistake is attempting to edit the mockup by painting directly onto the rasterized layers. This approach destroys the non-destructive nature of the file and makes future edits nearly impossible. By using the designated smart object layer, you ensure that your design maintains its original resolution and editability.
When you double-click the smart object thumbnail, a new window opens where you can place your logo, text, or pattern. The magic happens automatically: once you save and close that window, Photoshop applies the correct shadows, lighting, and perspective distortions to match the underlying 3D scene. This automation removes the need for advanced manual masking skills, making it accessible for users with no prior experience in complex photo manipulation. The result is a design that looks like it was photographed in a studio, complete with natural light interaction and subtle surface textures.
Common Pitfalls in Resolution and DPI Settings
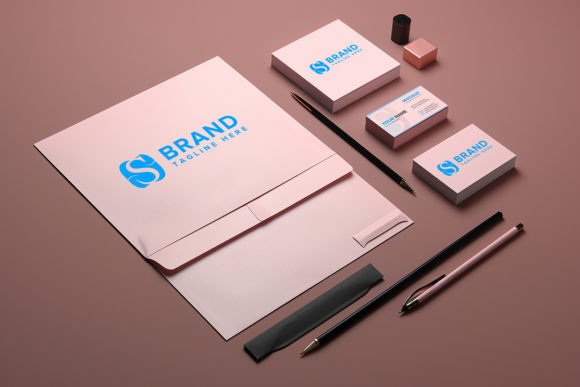
One of the most frequent oversights when using any stationery mockup is ignoring the resolution requirements. The Elegant Minimalistic Stationery Mockup P is provided at 300 DPI, which is the industry standard for high-quality printing. A significant error occurs when designers import low-resolution logos or web-optimized images (72 DPI) into the smart object. While the mockup itself is sharp, inserting a pixelated logo will result in a blurry, unprofessional final image.
To avoid this, always ensure your source files are vector-based (such as AI or EPS formats) or high-resolution PNGs before placing them into the smart object. If you are working with a client who only has a low-quality JPEG, take the time to recreate their logo or use upscaling tools designed for print preparation. Neglecting this step undermines the "High Quality 3d Realistic" promise of the pack and can lead to client dissatisfaction when they attempt to use the mockup for large-format displays or printed brochures.
Misunderstanding Lighting and Color Accuracy
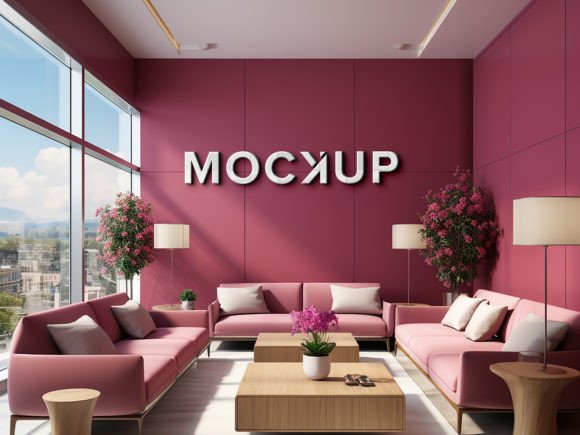
Another area where users often stumble is color management. The mockup features specific lighting conditions that create realistic shadows and highlights. A common misconception is that the colors seen on screen will match exactly what comes out of a printer. While the mockup provides an excellent visual approximation, it is not a color-proofing tool. Designers sometimes spend hours tweaking colors to match the mockup’s lighting, only to find the printed product looks different.
Instead of trying to fight the lighting, work with it. Use the mockup to check contrast and legibility. Ensure your text stands out against the paper texture and that your logo remains visible in the shadowed areas. If your design relies on subtle gradients, test them thoroughly within the smart object to see how the mockup’s shading affects visibility. This proactive approach prevents surprises during the actual production phase and ensures your design is robust enough to handle various lighting environments.
Organizational Habits for Efficient Workflow
The pack includes fully layered and well-organized folders, yet many users clutter their workspace by adding unnecessary adjustment layers or hiding essential structure layers. This disorganization can slow down your editing process, especially if you need to return to the file weeks later for revisions. A better approach is to respect the existing folder structure. Keep your custom designs within the smart object and use the top-level layers only for global adjustments like brightness or contrast if absolutely necessary.
Additionally, some users forget to rename their smart objects. When working on multiple projects, having files named "Layer 1 copy" or "Smart Object 5" can lead to confusion. Adopt a habit of naming your smart objects clearly, such as "Client_Logo_Insert," to maintain clarity. This small discipline pays off significantly when managing multiple client files or collaborating with other designers.
Maximizing the Pack’s Versatility
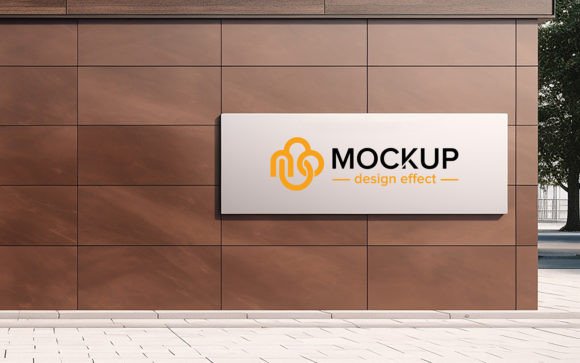
The Elegant Minimalistic Stationery Mockup P is not limited to just one type of presentation. While it is marketed for stationery, its clean aesthetic makes it suitable for various branding elements. You can use it to showcase wedding invitations, corporate letterheads, minimalist business cards, or even art prints. The key is to experiment with different design scales and placements within the smart object.
For entrepreneurs and small business owners, this versatility means you can create a cohesive brand story across multiple touchpoints without needing separate mockups for each item. By maintaining a consistent visual style, you strengthen brand recognition. However, avoid overusing the same angle for every piece of content in your portfolio. Rotate through different perspectives if available, or combine this mockup with others to show variety. This demonstrates to potential clients that your design works in multiple contexts, not just one static view.
Final Checks Before Delivery
Before exporting your final JPG, perform a few critical checks. First, zoom in to 100% to inspect edges and text clarity. Ensure there are no unintended artifacts from the smart object transformation. Second, verify that all hidden layers are indeed hidden if you intend to share the PSD file with a client or team member. Clean files reflect professionalism and attention to detail.
Finally, remember that while the mockup enhances your presentation, it does not replace good design fundamentals. The tool amplifies the quality of your work, so ensure your typography, spacing, and color choices are solid before applying them to the mockup. By combining strong design principles with the technical advantages of the Elegant Minimalistic Stationery Mockup P, you create compelling visuals that resonate with your audience and stand out in a crowded marketplace.
Using this tool effectively requires a blend of technical awareness and creative intuition. By avoiding common mistakes related to resolution, lighting, and organization, you can leverage the full potential of this resource. Whether you are a freelancer looking to impress a new client or a marketer preparing a campaign launch, mastering these details ensures your work is presented in the best possible light.