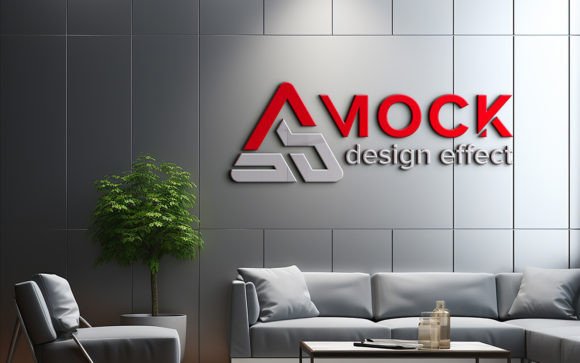
Indoor Office Waiting Room Wall Mockup: A Practical Guide to Professional Presentation
Presenting a brand identity in a physical space requires more than just a flat digital file. When you are pitching a signage concept, interior branding, or environmental graphics to a client, context is everything. An Indoor Office Waiting Room Wall Mockup serves as the bridge between your creative vision and the client’s reality. It allows stakeholders to visualize how a logo, typography, or graphic design will interact with light, shadow, and architectural elements before a single decal is printed or painted.
However, many designers and business owners overlook the technical nuances of using these tools effectively. While the promise of "no skill requirement" is appealing, treating mockups as mere plug-and-play solutions can lead to disappointing results. Understanding the common pitfalls associated with these assets ensures that your final presentation looks authentic, professional, and convincing.
The Misconception of Instant Perfection
One of the most frequent mistakes users make is assuming that a high-quality mockup eliminates the need for design judgment. Marketing materials often highlight features like Smart Object Replacement and automatic shadows, leading beginners to believe that any image dropped into the file will look perfect. This is rarely the case.
If you insert a low-resolution logo or a design with poor contrast into a realistic 3D scene, the result will look artificial. The mockup provides the lighting and perspective, but it cannot fix a blurry source file. Always ensure your artwork is vector-based or at least 300 DPI before placing it into the smart object. Failing to do so results in pixelation that breaks the illusion of realism, causing clients to question the quality of your work rather than admire the concept.
Ignoring Lighting and Perspective Consistency
Even with advanced blending modes, the physics of light must be respected. A common error is ignoring the direction of the light source in the original photograph. If the waiting room in the mockup has light coming from the left, casting shadows to the right, your inserted design should reflect this interaction. While modern PSDs handle much of this automatically via displacement maps and overlay layers, you must still check the integration.
For instance, if your design includes metallic elements or gloss finishes, simply pasting a flat color will look dead against a textured wall. You may need to adjust the opacity of the overlay layers or tweak the blending mode to match the sheen of the surrounding environment. Neglecting these subtle adjustments makes the design look like a sticker placed on top of a photo, rather than an integral part of the architecture.
Overlooking Layer Organization and Editability
When evaluating an Indoor Office Waiting Room Wall Mockup, many users focus solely on the main preview image and ignore the file structure. A well-organized PSD is crucial for efficiency. Look for files where layers are grouped logically into folders such as "Background," "Shadows," "Highlights," and "Your Design Here."
Poorly organized files can turn a five-minute task into an hour-long frustration. If the layers are flattened or named ambiguously, making minor tweaks—such as adjusting the brightness of the wall or removing a distracting element in the background—becomes nearly impossible. Before purchasing or downloading, verify that the file is fully layered. This flexibility allows you to customize the scene to better match your client’s specific office aesthetic, whether they prefer a warm, inviting tone or a cool, corporate feel.
The Importance of Resolution and Print Readiness
A critical oversight occurs when designers use web-resolution images for print-ready presentations. The pack includes a 300 DPI file for a reason. If you scale down the resolution to save space or speed up processing, the final output will lack the crispness required for large-format printing proofs. Clients often zoom in on PDF presentations; a low-DPI mockup will reveal jagged edges and compression artifacts.
Always work at the native resolution of the mockup. If the file size is large, ensure your computer has sufficient RAM to handle the smart objects smoothly. Working at full quality ensures that when you export the final JPG for client review, every detail—from the texture of the paint to the sharpness of your logo—is preserved. This attention to detail signals professionalism and respect for the client’s project.
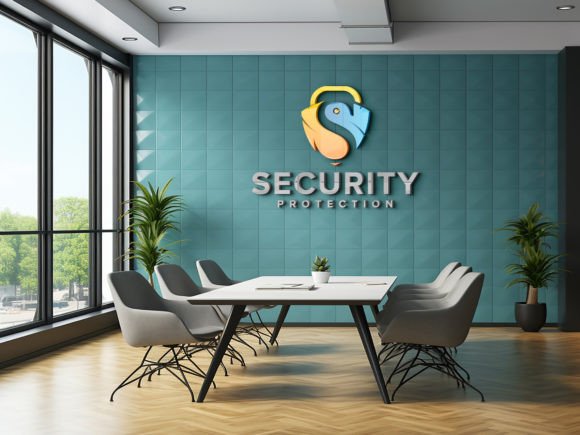
Choosing the Right Environment for Your Brand
Not all waiting rooms are created equal. A mistake many marketers make is forcing a brand into an incompatible setting. A playful, colorful startup logo might look out of place in a sterile, minimalist corporate lobby, just as a traditional serif font might clash with a hyper-modern industrial space.
Take time to analyze the mood of the mockup. Does the furniture style match your client’s industry? Is the color palette of the walls neutral enough to let your design stand out, or does it compete for attention? Selecting a mockup that aligns with the brand’s personality enhances the emotional impact of the presentation. If the available options do not fit, consider using editing tools to adjust the hue and saturation of the background elements to better suit your needs.
Practical Steps for Better Results
To maximize the value of your Indoor Office Waiting Room Wall Mockup, follow these best practices:
- Check Compatibility: Ensure you have Adobe Photoshop installed, as these files rely heavily on smart object functionality that other software may not support fully.
- Prepare Your Assets: Clean up your logo files. Remove unnecessary transparent spaces and ensure colors are in the correct profile (usually sRGB for screen viewing).
- Test Variations: Use the non-destructive nature of smart objects to test multiple colorways or design options quickly. This allows you to present A/B choices to clients without starting from scratch.
- Review Shadows and Highlights: After placing your design, toggle the visibility of the shadow and highlight layers. Adjust their opacity if the design looks too flat or too dark.
- Export Correctly: Save your final presentation as a high-quality JPG for email sharing, but keep the PSD archived for future edits.
Final Thoughts on Professional Presentation
Using a realistic mockup is not about deceiving the client; it is about facilitating clear communication. It helps bridge the gap between abstract design concepts and tangible outcomes. By avoiding common mistakes such as ignoring resolution, neglecting layer organization, and mismatching environments, you elevate the perceived value of your work.
Remember that tools like the Indoor Office Waiting Room Wall Mockup are designed to save time and enhance realism, but they require a thoughtful approach. Pay attention to the details, respect the lighting physics, and maintain high standards for your source files. When used correctly, these assets become powerful allies in winning pitches and delivering satisfying results for your clients. Take the time to learn the tool, and it will serve your creative process well.